💡How To Buy
This guide will show you how to purchase FWC tokens on PancakeSwap.
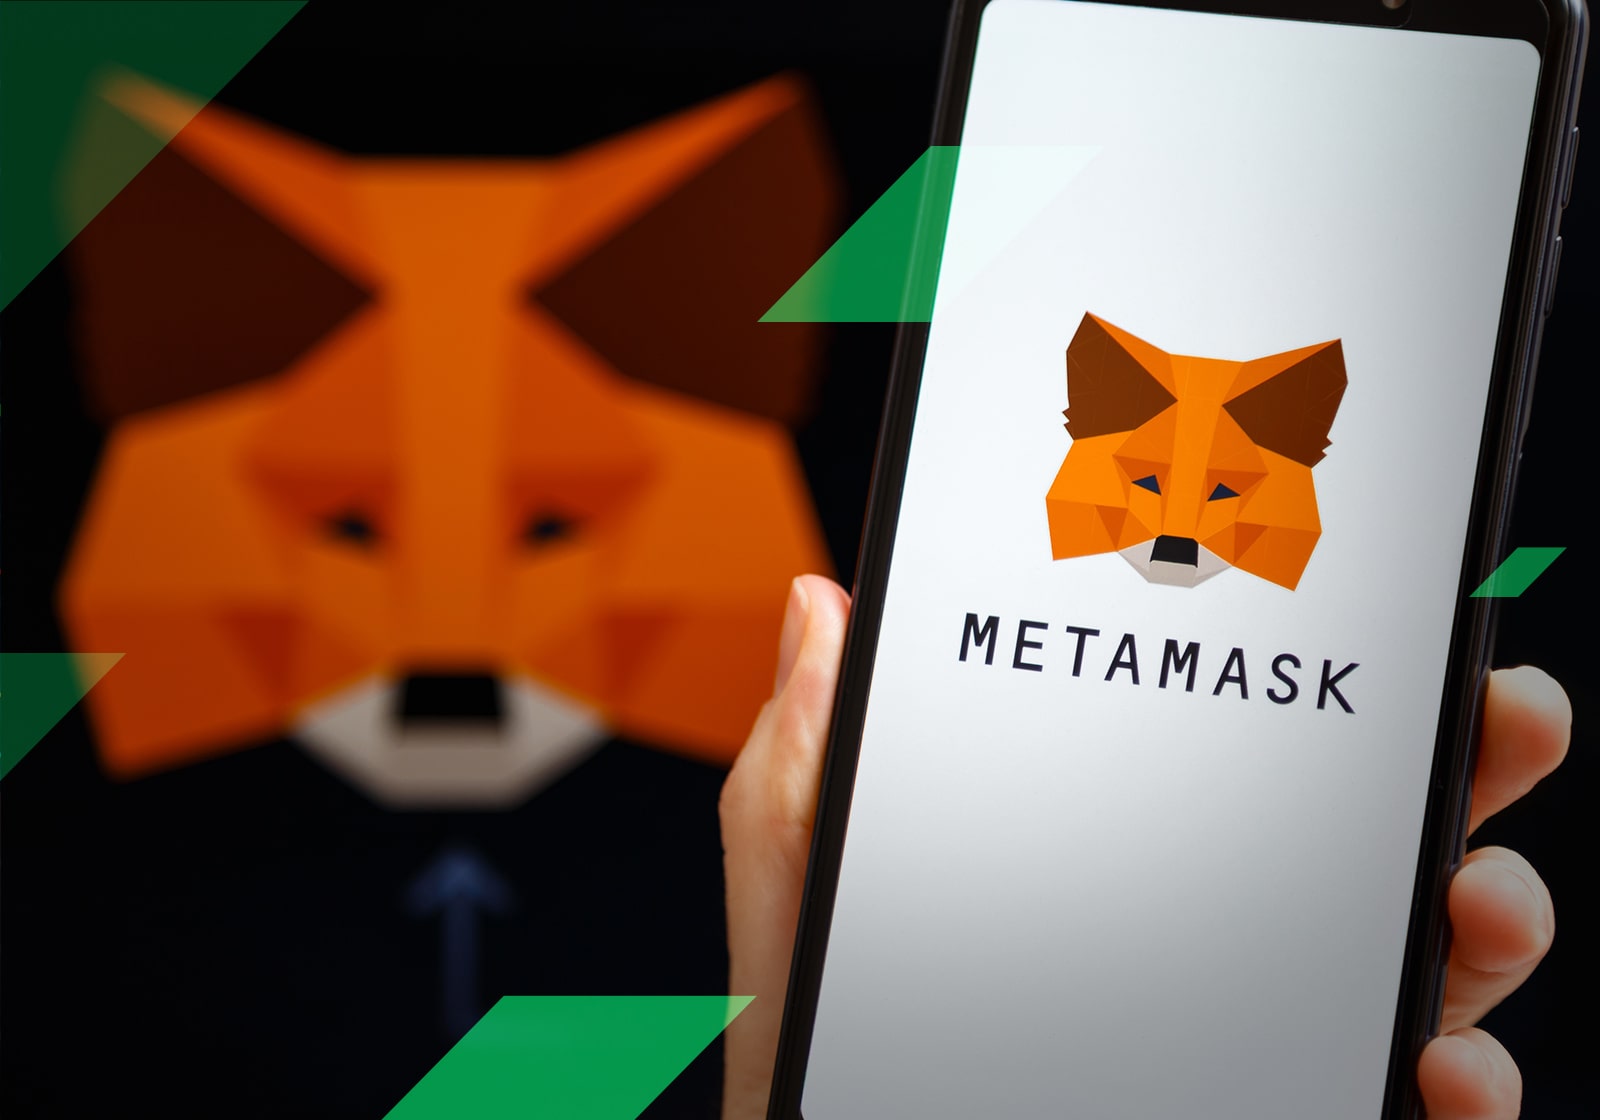
Step 1: Install Metamask
Visit the Metamask Website: Open your web browser and go to the official Metamask website.
Install Metamask Extension: On the website, locate and click on the option to "Get Chrome Extension" to initiate the installation process.
Add to Chrome: Once you click on "Get Chrome Extension," a prompt will appear. Click on "Add to Chrome" to begin the installation of the Metamask extension.
Complete Installation: After clicking "Add to Chrome," another prompt will ask you to confirm the installation. Click on "Add Extension" to finalize the installation process.
Confirmation: You will know that Metamask has been successfully installed when you see the fox logo in the upper right-hand corner of your browser.
Step 2: Setting Up Your Wallet

Access Metamask: Click on the Metamask fox logo in the upper right-hand corner of your Google Chrome browser to open the extension.
Agree to Terms and Conditions: Upon opening Metamask, you'll be presented with the terms and conditions. Take the time to read and understand them. You may need to agree to 2 to 3 pages worth of terms.
Create Wallet: After agreeing to the terms, proceed to create your wallet. Enter a secure password for your wallet and click on "Create" to proceed.
Backup Seed Phrase: Once your wallet is created, Metamask will provide you with a unique set of 12 seed words. These words are crucial for recovering your wallet if you forget your password or lose access to your device. Click on "Save Seed Words as File" and store the downloaded file in a secure location. Additionally, write down the seed phrase on a piece of paper and keep it safe offline.
Confirmation: After saving your seed phrase, you have successfully created your Metamask wallet. You can now use it to store and manage cryptocurrencies like $FWC.
Step 1: Access PancakeSwap
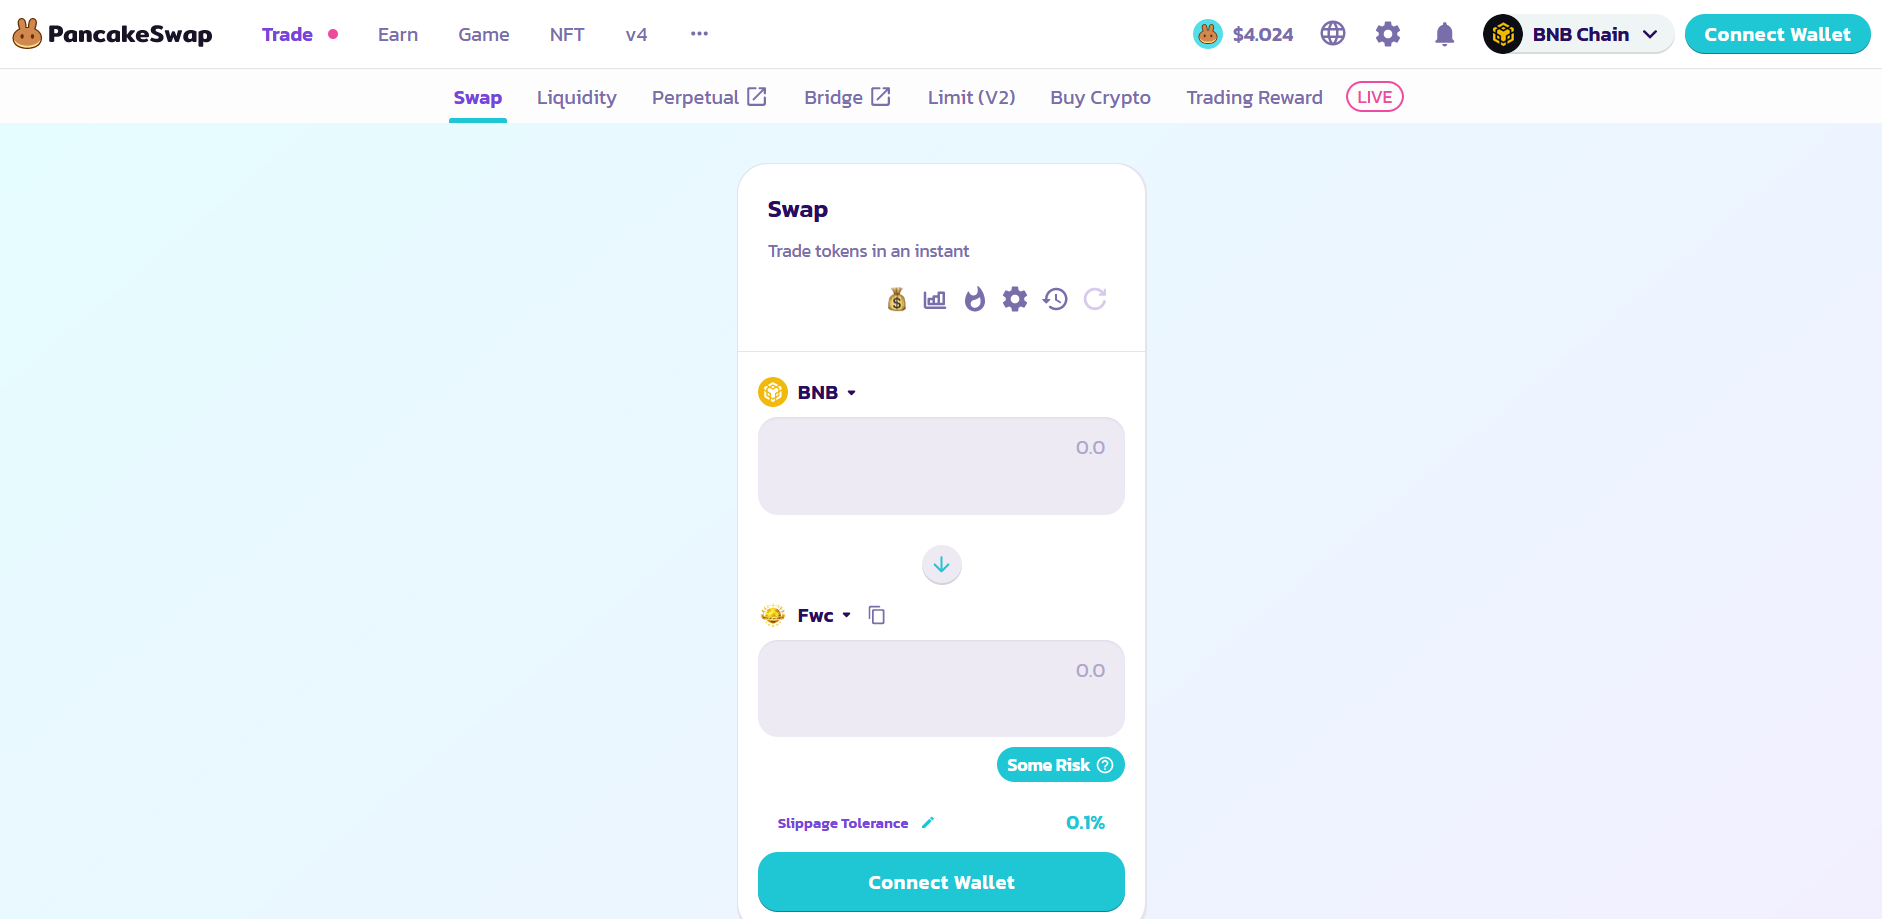
Visit PancakeSwap: Open your web browser and go to the following link: PancakeSwap.
Step 2: Connect Your Wallet
Click "Connect Wallet": On the PancakeSwap interface, locate and click on the "Connect Wallet" button.
Choose Metamask: After clicking "Connect Wallet," you'll be presented with different wallet options. Click on the "Metamask" tab to proceed.
Unlock Metamask: A Metamask pop-up window will appear prompting you to enter your Metamask password. Enter your password and click "Unlock" to proceed.
Follow Prompts: Once your wallet is connected, follow the prompts to complete the connection process. This may involve confirming the connection within the Metamask extension.
Step 3: Purchase $FWC
Ensure Sufficient BNB: Before proceeding, make sure you have sufficient BNB (Binance Coin) in your Metamask wallet to cover the gas fees for the transaction.
Purchase BNB: If you don't have enough BNB, you can purchase it directly from your Metamask wallet or from an exchange like Coinbase. To purchase from an exchange, initiate a transfer from the exchange to your Metamask wallet address. Your Metamask wallet address can be found at the top of your Metamask wallet user interface.
Initiate Transaction: Once your wallet is connected and you have sufficient BNB, you're ready to purchase $FWC. Enter the amount of $FWC you want to buy and confirm the transaction.
Transaction Confirmation: After confirming the transaction, you'll need to confirm it again within Metamask. Follow the prompts to approve the transaction.
Wait for Confirmation: Wait for the transaction to be processed. Once confirmed, you'll see the $FWC tokens in your Metamask wallet.